Ok kids, I finally got around to taking a few picts of my mini-master bathroom facelift! For those of you who don’t know the whole story, a little over a year ago we bought an old beach shack on our dream lot about 6 blocks from the beach. (woohoo!) The house, however, was built in 1951, remodeled in 1985 and it SHOWED. The minute we got the keys, I was ready to start knocking down walls! But over dinner one night my husband and I had a serious chat about our five year plan. (If you know me, you know I am ALL ABOUT laying out a five-year plan). Were we going to flip this house like we did our last? Would we want to tear it down and start from scratch? We were all over the place and honestly not sure. So we came to an agreement. We would allocate a “facelift” budget that I would HAVE TO stick to and this would be my “allowance” to make the house livable for the three of us for the next five years. Then, we could revisit our plan and decide where to go from there. Now obviously, when I say livable I am using the term loosely- as the house was totally livable when we bought it. I am sure most regular people could have sucked it up, saved all of their money and bit the bullet for five years. I however, am NOT most regular people- and the house made my eyes bleed in its current state. The first two spaces we tackled were the kitchen/breakfast area and my daughter’s bathroom, as that also doubles as our guest bath and it was super gross. (I promise I will post another blog about those areas soon). Our master bathroom was not a priority so it sat. Like. This. For about nine months.
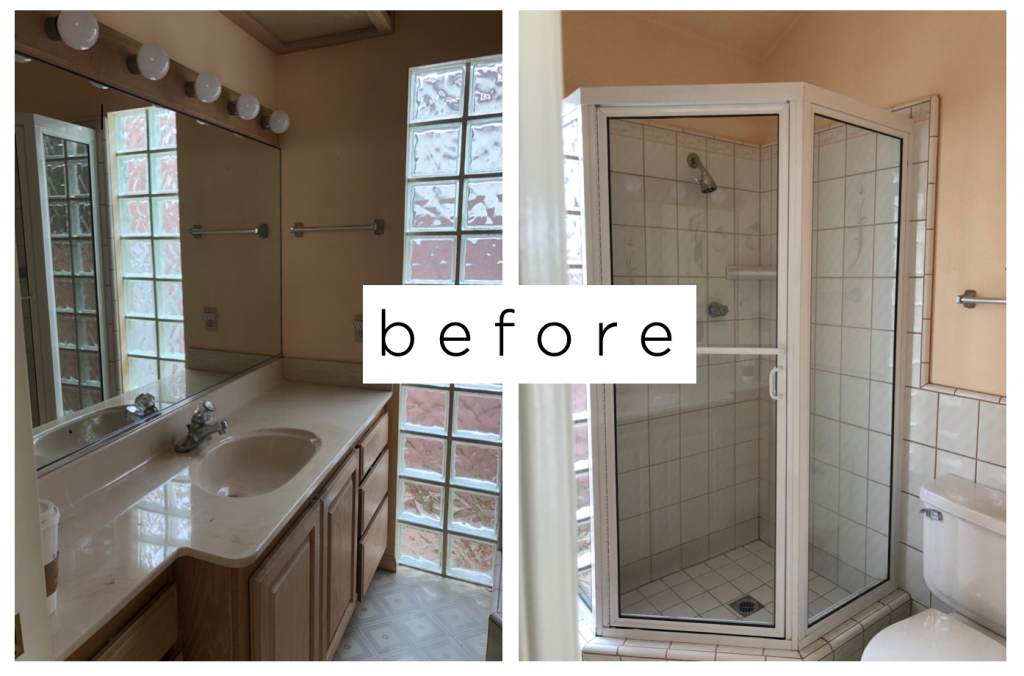
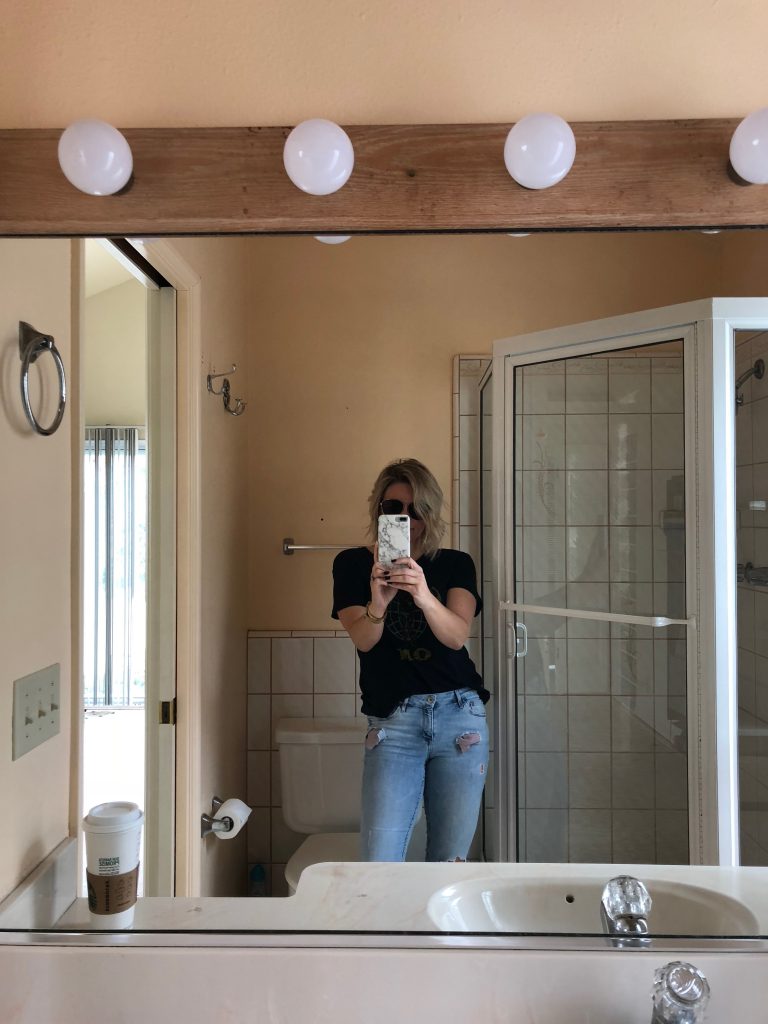
The lighting was not selfie-worthy, and OMG those glass block windows are my literal worst nightmare. Not to mention the fact that this is like the tiniest bathroom ever in the history of bathrooms, so it’s really hard to avert your eyes when you are in there.
In order to convince my other half that it was worth doing (we had JUST finished all the other construction and I think he was tired of waking up to drywall dust in his coffee) I promised I would do it for $5,000 (in materials) or less. Don’t believe me… follow along.
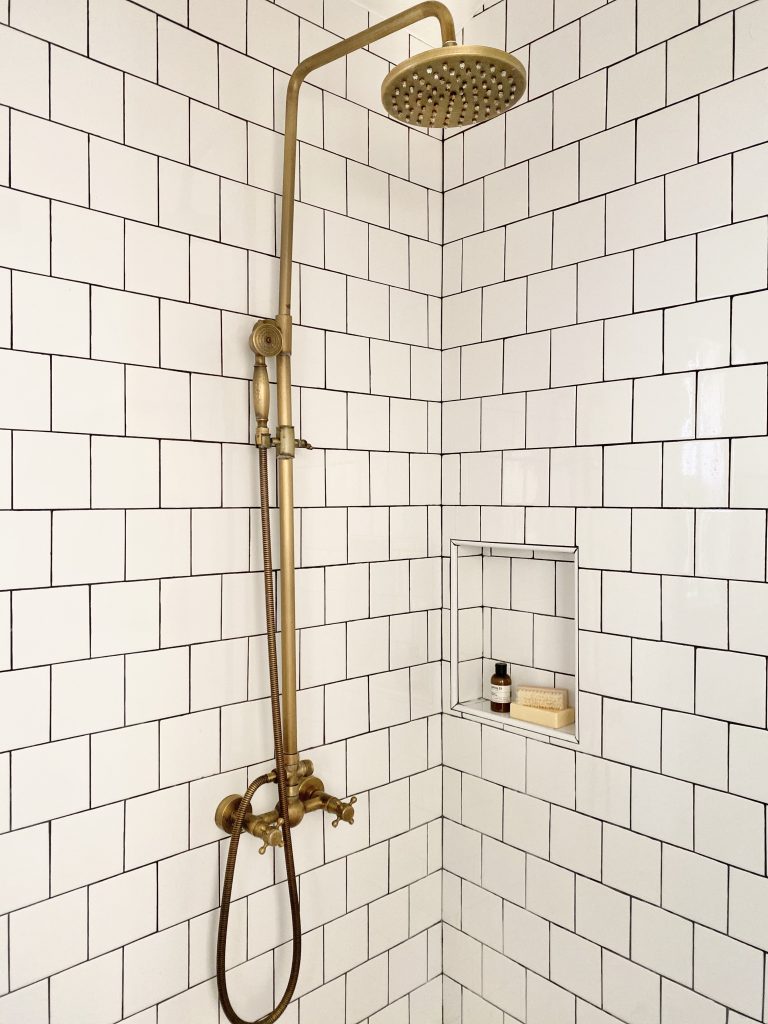
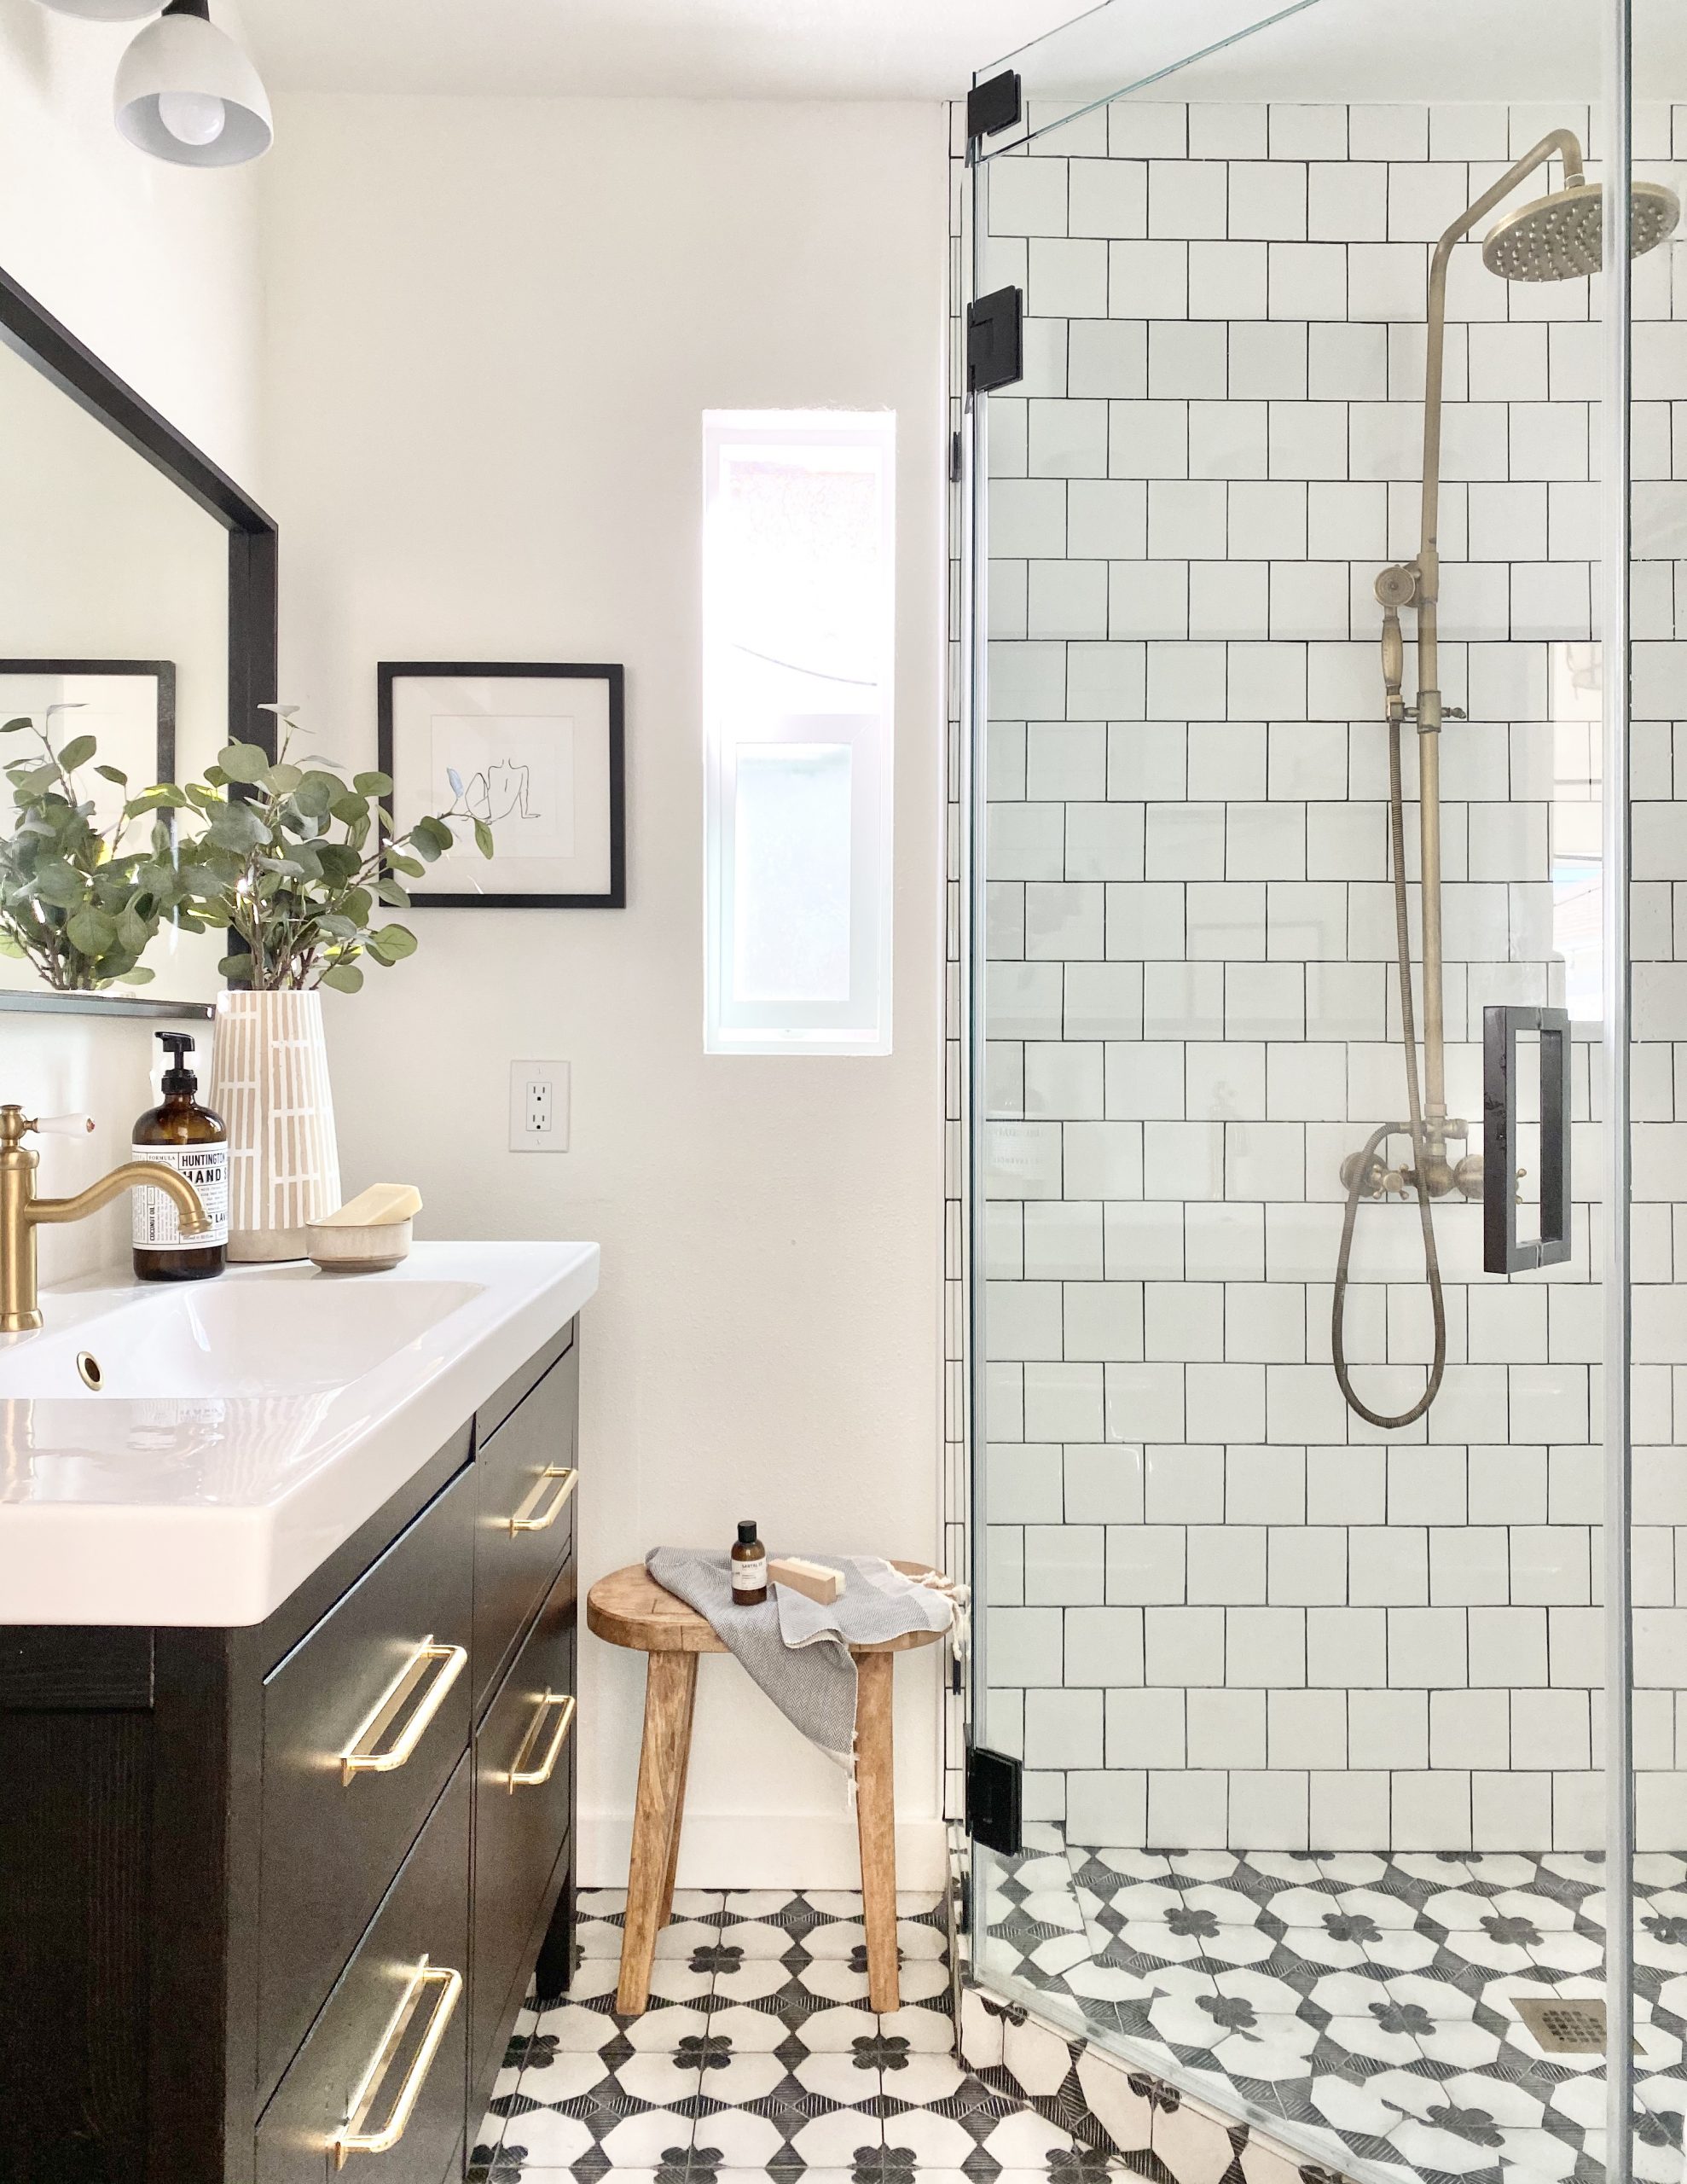
Let’s start with the shower. I ripped out the existing tile and shower enclosure. (barf) I went back to basics with 4×4 white classic square tile with a contrast grout from Home Depot. The ceilings are super high in this bathroom, so I took the tile up as high as I could to draw your eye up and make the space feel larger. I also really, really, really, wanted an exposed shower but the one I really wanted from Waterworks was WAY out of my budget. So, I found this one on Amazon and it’s actually pretty good quality and still going strong! I splurged on a frameless shower enclosure to make the space feel more open and went with matte black clips and hardware for some added contrast.
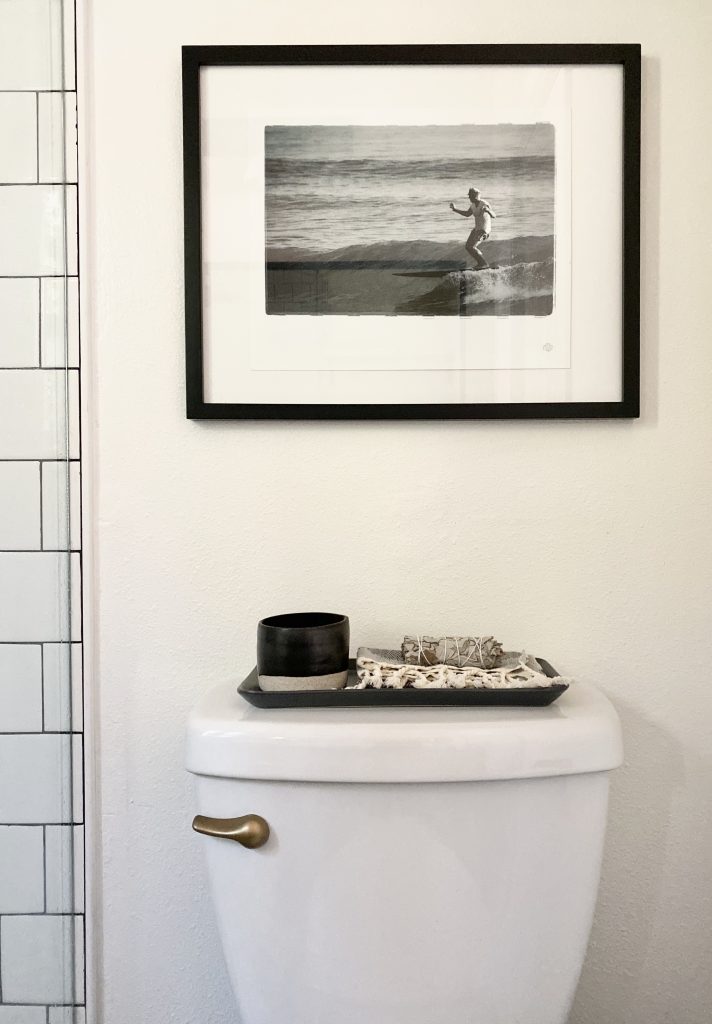
When it came to the drain and toilet handle… well, I totally forgot to order them in brass to match the shower and faucet so I had to spray paint them. Yes, that’s right- I spray painted them. (My contractor was laughing at me so hard about this BTW). These are obviously holding up less well, but I think they will make it for another year or two and then I can touch them up.
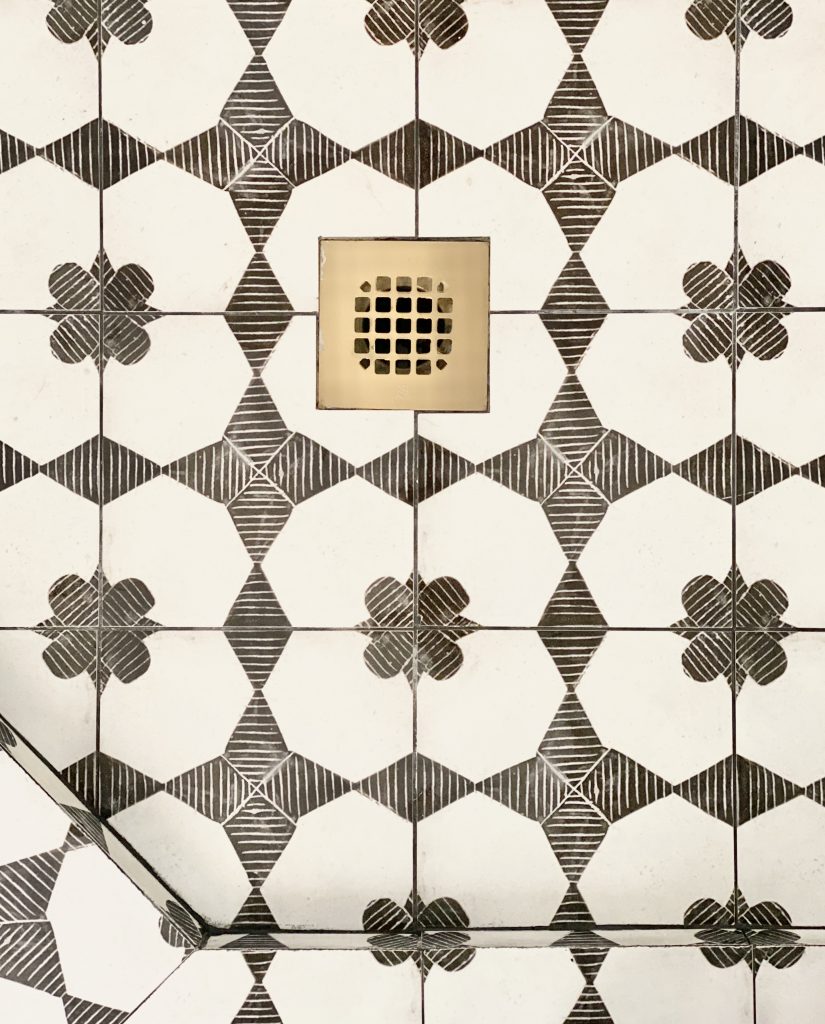
For the floor, I needed something impactful, durable and chic that was not too pricy. A tall order, so obviously I turned to Bedrosians. They have a ton of porcelain options that are super well priced so I knew I would be able to find exactly what I was looking for and not break the bank. I settled on the Enchante Modern, and I LOVE it. The key was mitering the dam with the tile and also using it in the shower floor. It makes the room feel larger and doesn’t visually break up the space with multiple materials.
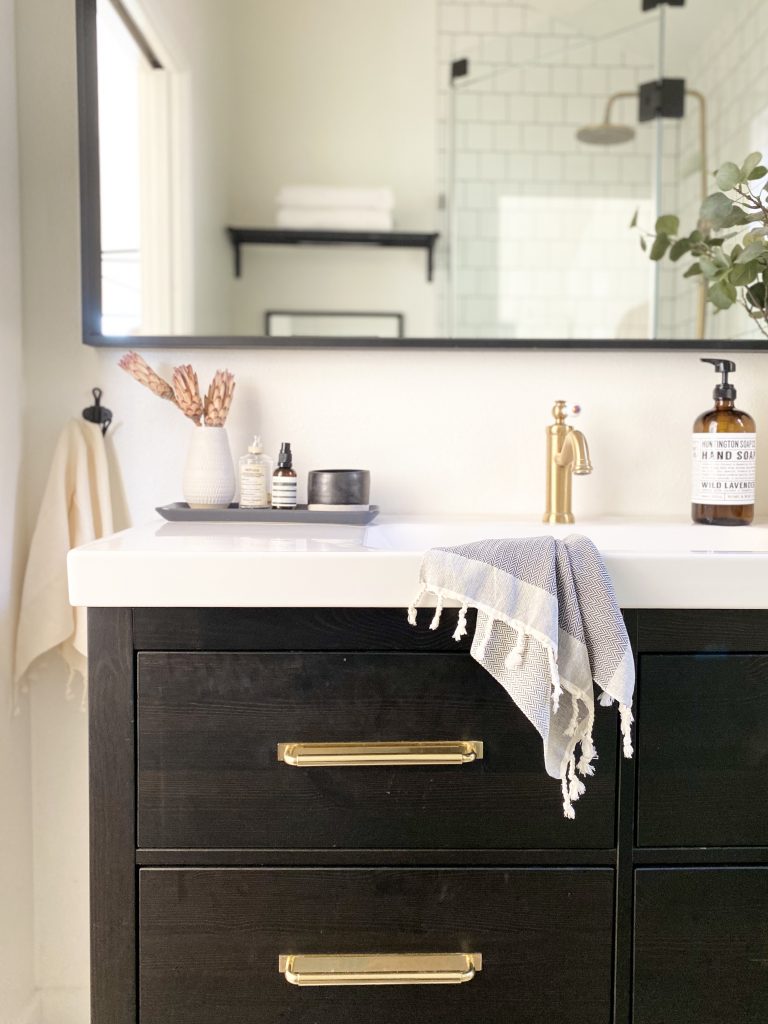
When it came to the vanity I had to get really creative! We all know how costly custom cabinetry is so that was obviously out of the question since I knew if we tear down the house eventually the chances of reusing it would be slim to none. (It also felt kind of wasteful TBH.) So obviously I went straight to IKEA. I used their Hemnes 4-drawer sink Cabinet and paired it with the Odensvik integrated sink/countertop. While I was there I saw the cutest brass faucet so I pulled an audible and grabbed that as well. Before leaving I also snagged this mirror to hang above the vanity temporarily. I figured I could always hang it in my closet later, since it’s a few inches larger than the vanity and I knew that would drive me nuts. Well, once I hung it I actually liked it and it’s still there! I hung some towel hooks underneath to balance out the overhang and it’s fine. Lastly, I splurged on replacing the existing cabinet hardware with 8″ Patton pulls from Rejuvenation. The backplate covers the existing hole from the previous knob and they really elevate the look of the vanity cabinet (and the room as a whole). Last but not least, I added the Young House Love bath light from Shades of Light , and replaced the glass block wall panel with a smaller functional window. It did reduce some of the light coming in, but the white paint, tile, and overall brighter look of the space actually balanced it out so it was a wash- and now my eyes don’t bleed every morning.
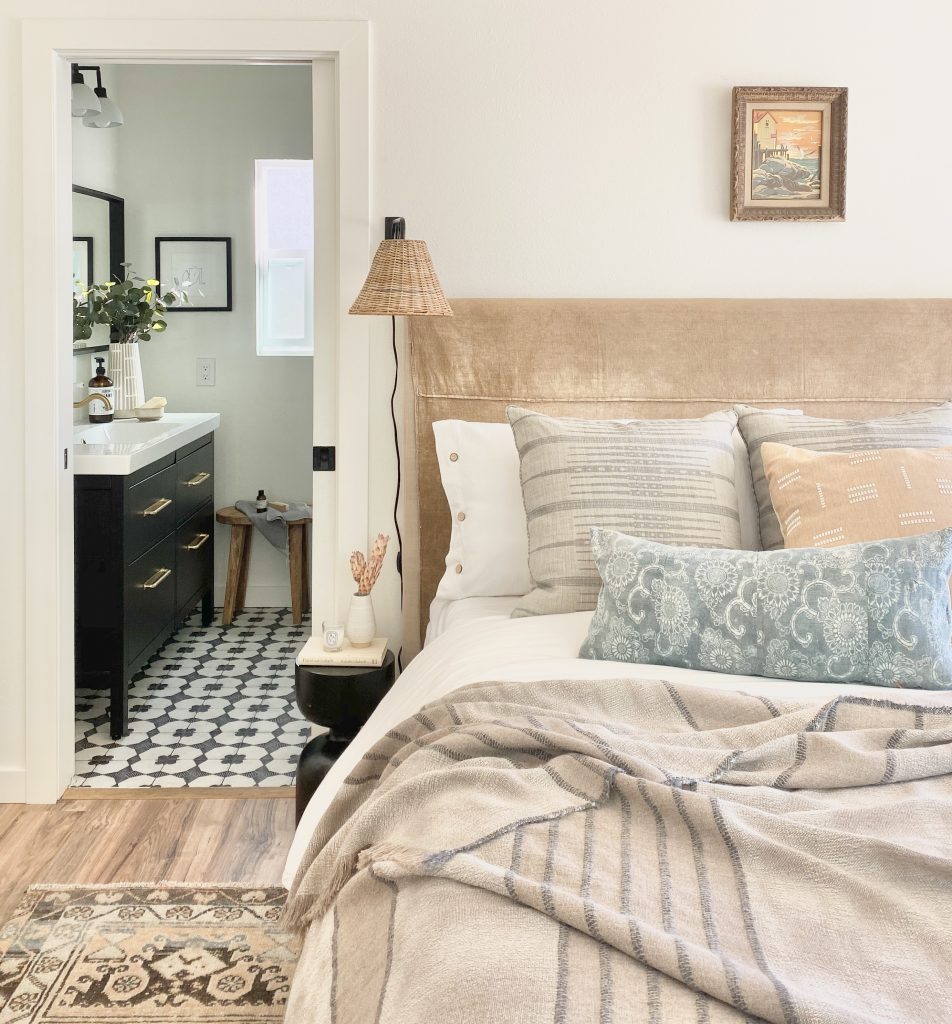
All in all, I am pretty proud of how it came together! I stayed on budget (so I am not divorced) and it’s so nice to be able to get ready in a space that doesn’t make my skin crawl anymore. Even if it is psudo-temporary, it makes me happy to have a completed space that I feel is much more in line with our overall aesthetic and vibes.